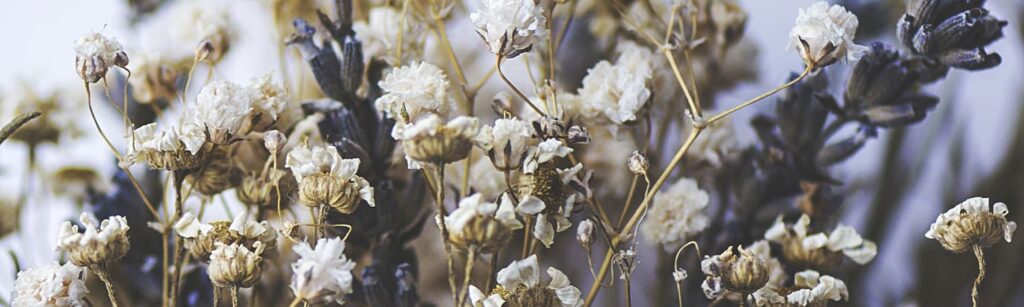
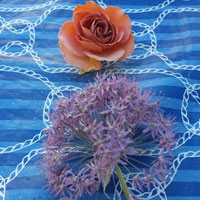
With silica gel, you can easily preserve flowers or make your own potpourri.
The process for drying fresh flowers can be a bit daunting, especially if you are not familiar with doing so. The traditional method for drying flowers is to bundle a batch and hang them upside down in a ventilated area for a few weeks until completely dry. If you don’t have the space or time to wait for your flowers to air dry, then you can instead use silica gel to dry them more quickly, and often with better results.
Request Flower Dry Silica Gel
What is flower dry silica gel?
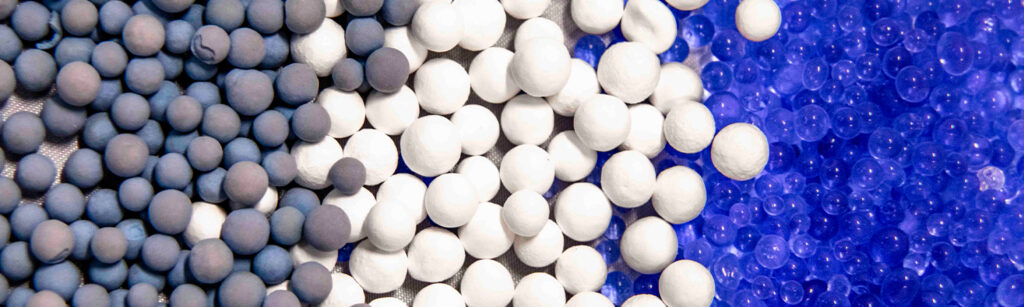
Flower dry silica gel is comprised of a mixture of very small blue indicating and white silica gel beads (or crystals) that work to adsorb the moisture from the petals. The blue indicating silica gel beads will change color from blue to pink once the silica gel is saturated and needs to be replaced or recharged.
Supplies Needed
- Flowers
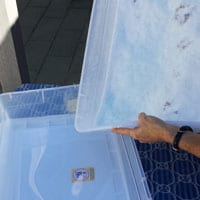
- Air tight containers
- Silica gel
- Cup
- Trimmers
Step-by-Step Guide
With assistance from the Sisters at the Community of Jesus in Orleans, Massachusetts, follow these 12 steps to easily dry and preserve your flowers.
Part One: Drying Process
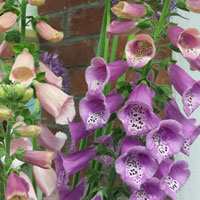
1. Determine the flowers you would like to dry. Be sure that the petals are free from liquid water or condensation before beginning the silica gel process.

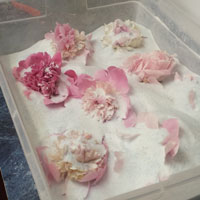
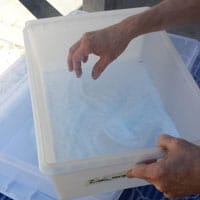
2. Place a layer of flower dry silica gel in the bottom of an air-tight container. Make sure the layer is at least 1/2″ – 1″ deep, or otherwise deep enough to hold the stems.
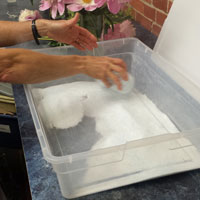
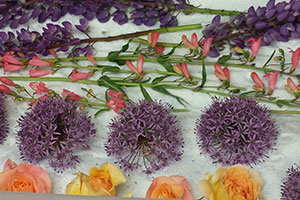
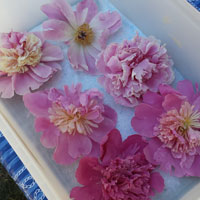
3. Trim the flower stems and insert them upright into the layer of silica gel. Long flowers, like snapdragons, larkspur, etc., can be laid on their side in the silica gel. Flat flowers, like zinnias, can be placed face down. Fill the air-tight container with as many as you can accommodate in a single layer.
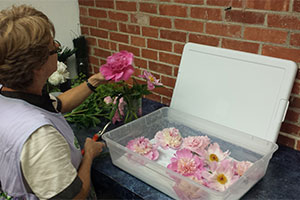
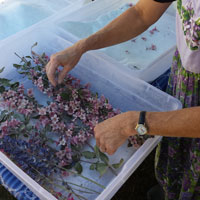
4. Using a cup, gently pour the silica gel onto the petals. Make sure you place silica gel in between each petal, but take care to keep the shape of the flower intact.

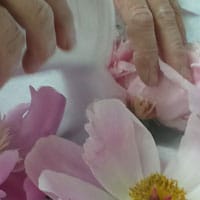
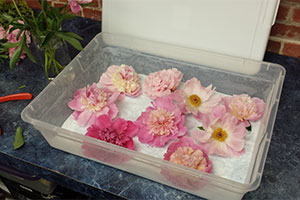
5. Continue to gently pour silica gel onto each flower until all are covered.

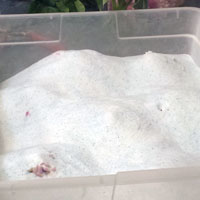
6. Seal the container and move it to a shelf for drying. Make sure that you don’t tip or shift the contents. In fact, it is best to not move the container until you are ready to remove the flowers.
7. After 2 – 6 days, check to see if the drying is complete. Drying times will vary based on the type of flower.
Part Two: Removing the Dried Flowers
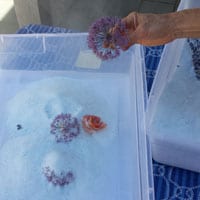
1. Remove the top of the container and gently pour out enough of the silica gel to expose a portion of the petals.
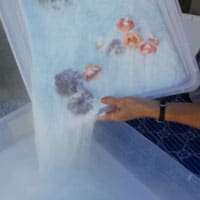
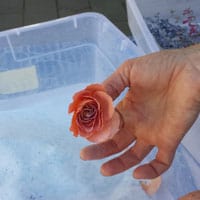
2. Remove each flower and gently shake out the silica gel crystals.
3. Using a new air-tight container, cover the bottom with a thin layer of silica gel and place the dried flowers inside the container for storage.
4. Seal the container and store for future use.
5. The remaining silica gel that was used to dry the flowers can be saved to dry others.
NOTE
To determine if the silica gel is suitable for drying, verify that some of the crystals are still blue. If the blue crystals have faded to white or pink the silica gel will need to be recharged.